Fabricademy: Week 5: eTextiles & sensors: Assignment 1

This class focused on exploring how we can produce soft circuits and sensors, to embed them into garments and wearables, using soft circuits and soft actuators. We will start with an overview of materials, components, tools and projects. Our global tutors were Hannah Pierre Wilson and Mika Satomi who make up KOBAKANT.
In this week’s course, students will be introduced to an overview of the field of electronic textiles, example works in the field as well as materials and technical developments that have made these projects possible. We will go into details on different techniques for making soft/flexible/fabric circuits.
We will also introduce idea of micro-controllers using ATTINY as an example. We will cover simple exercise of opening blink LED example, going over the code basic and uploading to have the first step into arduino programming.
The exercise for the week will be to replicate/copy the swatch example, program your own ATTINY microcontroller with example code and design a basic circuit using the techniques of your choice.
We ask each student to create at least one analog fabric sensor and one digital sensor we mention in the course. Then create a fabric circuit using one or more of the connection technique (embroidered circuit, laser cut circuit, vinyl cut circuit) we cover in the course. They can connect the sensors simply with LED and a battery, or connect with programmed ATTINY to give a behaviour to the fabric circuit. One can use buzzer speaker instead of LED as an actuator.
Assignment 1:
The students will have to produce one soft sensor experimenting with the materials available at the lab. Trying to reproduce the same sensor with different materials/techniques (hard/hard hard/soft soft/soft).
Click here for Assignment 2
Assignment 1:
Organise our textiles!
Below you can see 3 images of the fabrics, yarns and fastenings.
We tried to organise the library of fabrics by labelling and numbering them with information like the resistance, colour and fabric quality.


Our aim was to create sensors using simple textile techniques like knitting, crochet and yarn spinning, as well as researching the tutorials on the Kobakant website.
The testing phase was as really interesting as the yarns have different flexibility to a basic wool or cotton yarn in comparison.
Creating sensors
I created these crochet circular sensors by first creating a chain of 3 loops and then joining them into a circle. I then crocheted into every stitch round and round, testing every increase to see what the resistance was. I ultimately ended up with 3 crocheted pieces.
I also managed to find a vintage yellow fabric trim in a local mercat which I then found to be conductive.


Resistance testing with the multimeter. See my spreadsheet here!
Test with the yellow vintage conductive textile trim
I discovered that the vintage metallic trim was conductive, but the threads were along the going along the short width of the trim, back & forth, so that the conductivity was very low and resistance very high.
- I then decided to sew a line of thread along one side of the trim, to connect all the horizontal threads along the width of the trim.
- This made the trim immediately more conductive
- I also took photos to measure the change in resistance over cm, from 5 to 10 to 15 and up to 100cm
I had the idea that i could attach and LED to the metallic trim and a battery to create a circuit.
- This worked, but to increase the resistance so that the LED light had a range of on & off, I had to add in a layer of velostat to make it a pressure sensor.
- The idea that it could be a wearable pressure sensor is nice and I thought of two things simultaneously
- The weight of the battery in a pouch could combined with a stretch sensor, could turn an LED on and off, or create a range of resistance.
- The conductive wires I found and decided I would create another kind of sensor with, also could create a clasp-like system, like that of an earring
I wanted to combine both ideas. As I was trying to create the system that I wanted but realised I was trying to combine too much. I would like to draw out my idea and then work on it from there.
- A product idea is an earring that when you put it on, the clasp closes the circuit loop and creates a connection for an LED light in the earring to light up.
- At the same time there is a stretch sensor that changes the resistance of the circuit as gravity pulls down on this.
- The gravity could be the power source (a round battery) which sits in something created out of an e-textile like the trim or a crochet or knitted pouch.
- The result of trying to combine too much without drawing it is that I was shortcutting the circuit by touching both sides of the metallic trim to the battery/LED
- I will come back to the stretch sensor idea.


Moving forward with the vintage trim
- I decided to make a push button sensor and use the black neoprene as an insulator on one side of the pouch.
- I then attached the black velostat to the neoprene to create a black pouch for the battery.
- Then I placed the long leg of the LED onto the plus side of the battery, and the shorter leg on the outside of the mini black pouch.
- I then inserted the black pouch with the battery inside, into the metallic trim pouch.
Images to attach
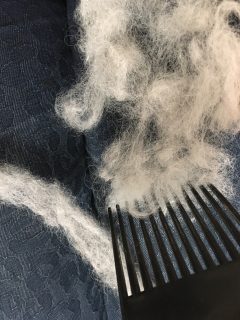
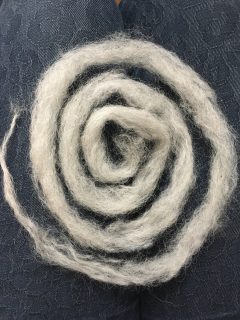
Making CONDUCTIVE yarn
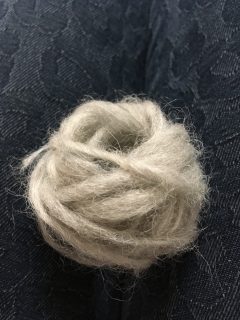
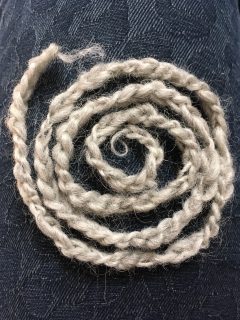
I also created some yarn from a iron wool conductive fibre, see my wool test & processes here
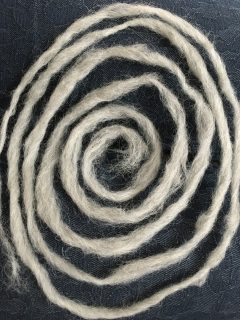
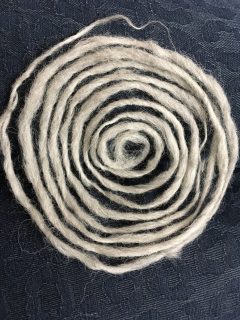
Although the texture and feel of the conductive wool was fluffy, it was actually quite hard to spin/twist. I’m also not an experienced spinner of yarns, so I found it very difficult to get a consistent thickness of the spun yarn.
Afterwards I create a crochet chain. This could be a nice addition into a knitted sheep wool jumper to create a seamless E-textile design.
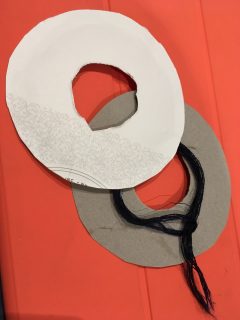
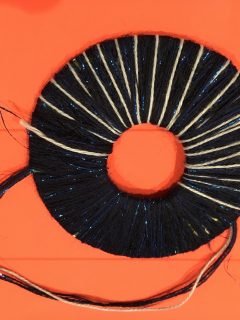
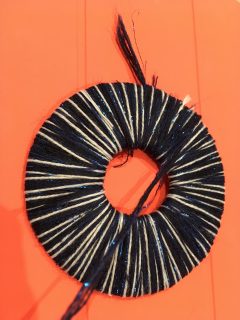
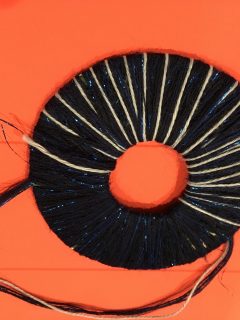
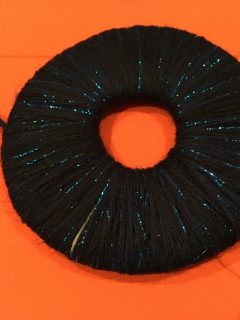
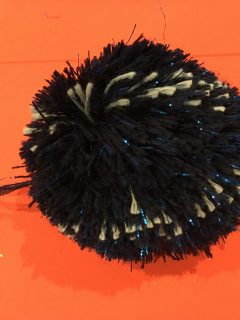
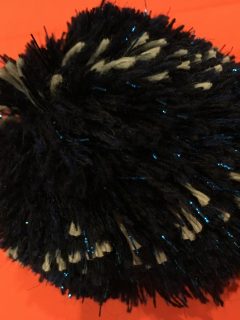
Making a conductive sensor Pompom
This is a tried and tested way that I created pompoms.
Here are two Instructables I have created to show how to create the pompoms
1st stage: Simple Pompoms Part one
2nd stage: Simple Pompoms Part Two


Making conductive knitted swatches
I really wanted to test out some hand knitting as we dont have a machine here at the Fabricademy in Barcelona.
I decided to knit two swatches, both ribbed, but one 2×2 & the other 1×1.
Here you can also see the handmade pompom which I have laid out to show what a basic connection schematic would look like.
Sensors in action
Here you can see the pompom resistance changing between the 2 photos.
One i am gently holding and the resistance shows at 0.27 Ohms and then when I squeezed the resistance lowers right down to zero.
This could be used as a trigger to turn an LED or a motor or a buzzer on and off when connected into a circuit and programmed with Arduino and an ATtiny board
Recent Comments